SalesPoint makes it easy to track all of your customers and their information. Entering customers is straightforward.
1. Log into the Administration Screen(Dashboard/Back Office) and select the "Customers" tab.

2. Press the "Add" button to add a new customer.
Note: You can use the "Import" function to quickly and easily import customers from a CSV file.
3. Fill in the information about the customer.
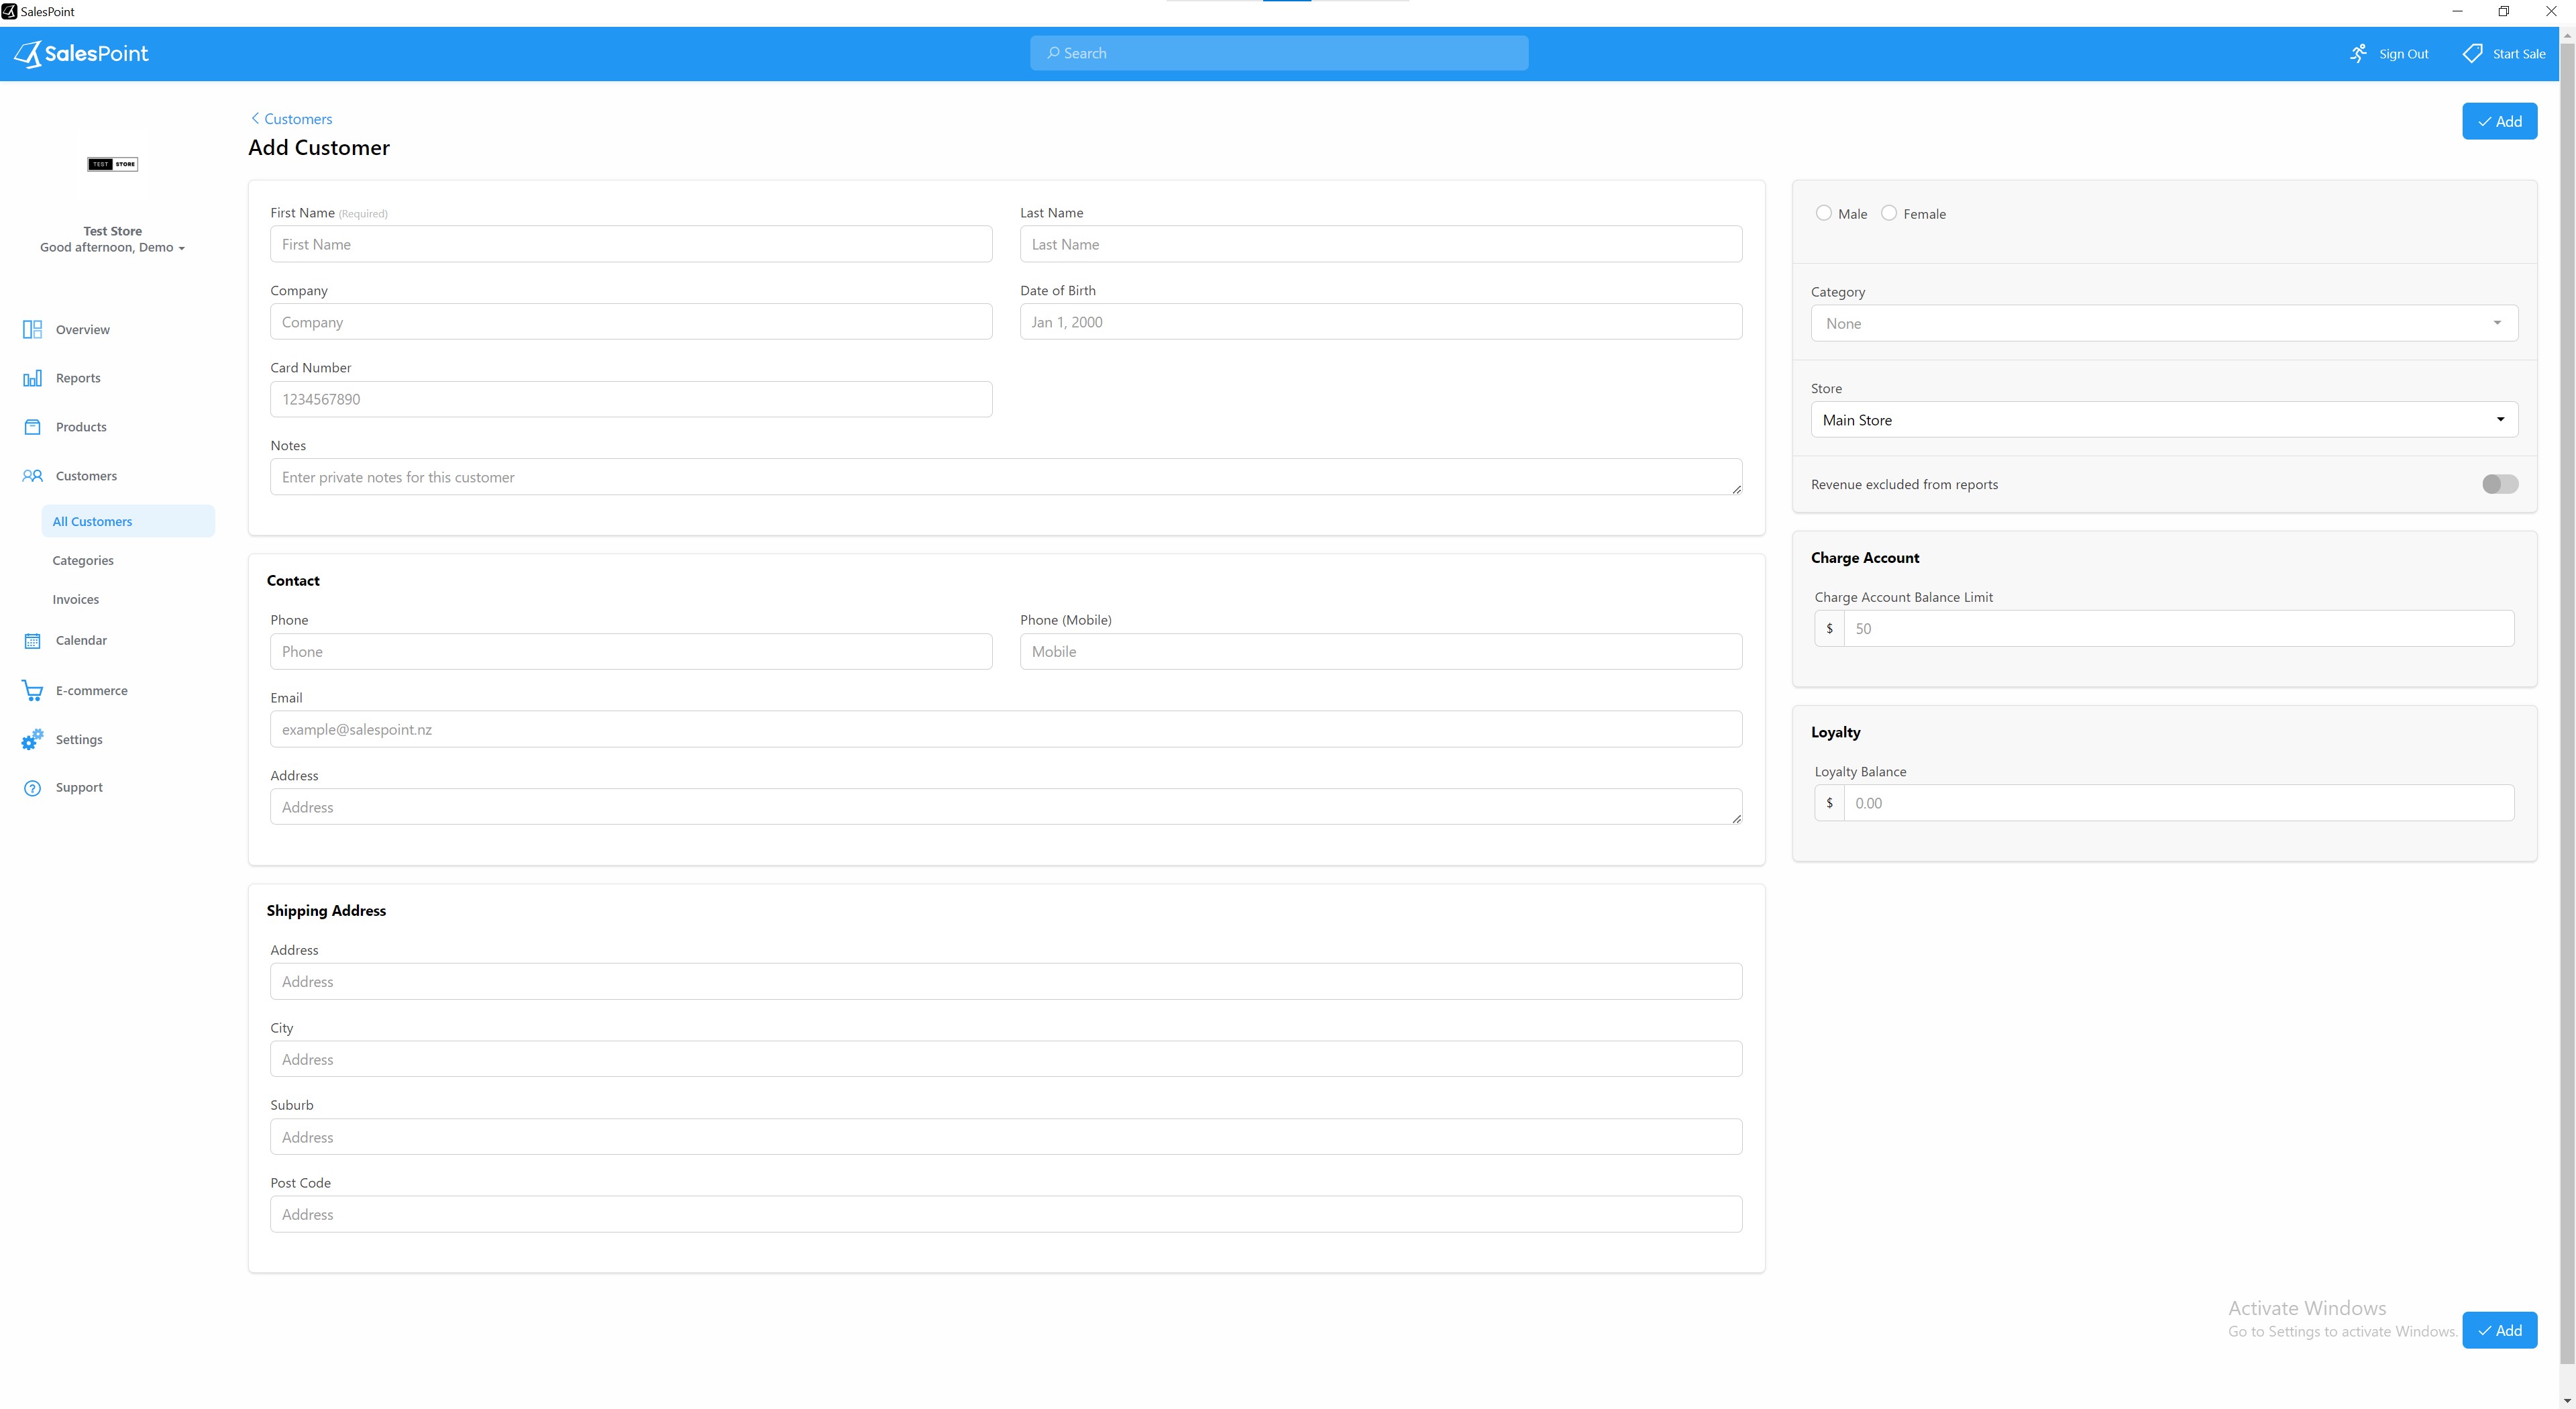
INFORMATION
First Name
This first name of the customer.
Last Name
This Last name of the customer.
Card Number
If you have a magnetic or barcode customer loyalty card then this is where the number of that card goes.
Email
The email address of the customer. This can be used to send email receipts or group emailing.
Phone
The phone number of the customer.
Phone (Mobile)
The mobile phone number of the customer. This can be used for group SMS sending.
Print Customer Receipt
If enabled, the product will print on the receipt of the customers when ordered
Address
The address of the customer. This can be useful for Takeaways or Online Ordering.
Category
Select the category of the customer from this. A customer can get a discount if there is a discount on the category.
Charge Account
The balance limit at which the customer cannot put any more onto their charge account. Leave blank to use the global charge account limit (if there is one).
Note: Charge accounts must be enabled. Follow this link: Setting Up Customer Charge Account .
Loyalty
The balance of how much loyalty money the customer has accrued.
Note: Customer Loyalty must be enabled. Follow this link: Setting Up Customer Loyalty.