SalesPoint makes it easy to track all of your stock levels and all product information. Entering a product (stock) is very easy and straightforward.
1. To access the product section, navigate to the Dashboard or Back Office and click on the "Product" tab.
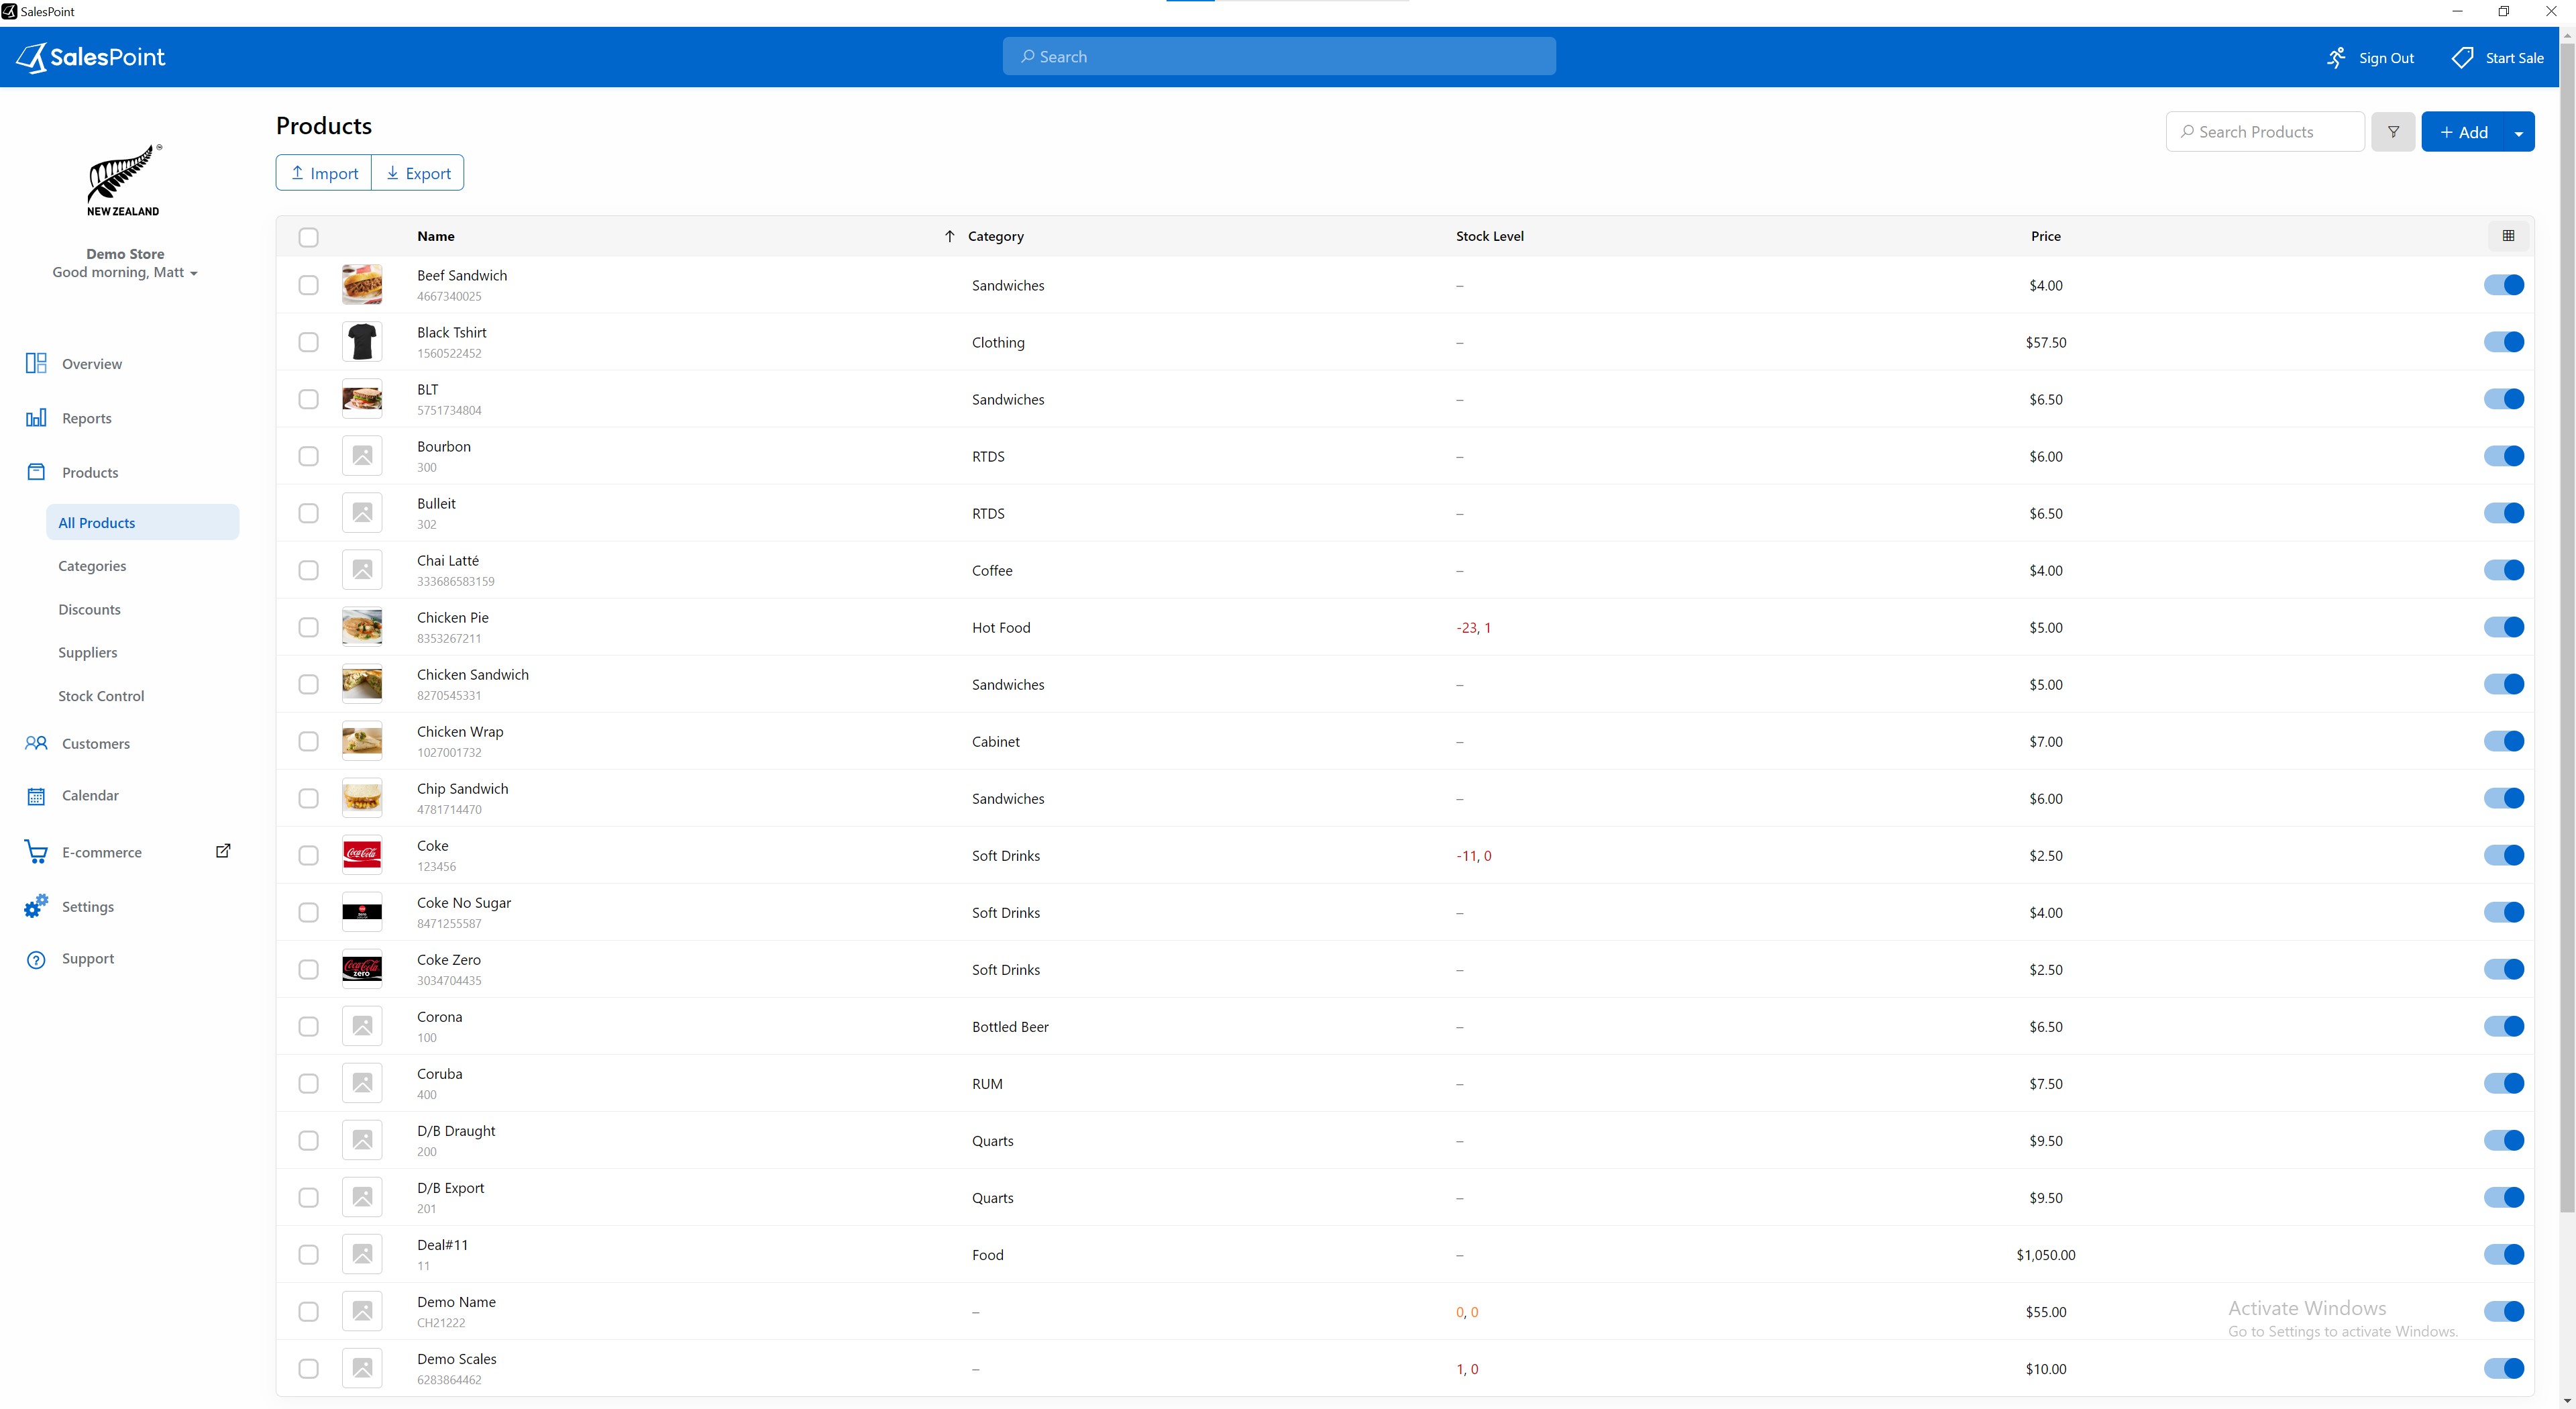
2. To add a new product, simply click on the "Add" button.
Note: You can use the "Import" function to quickly and easily import products from a CSV file.
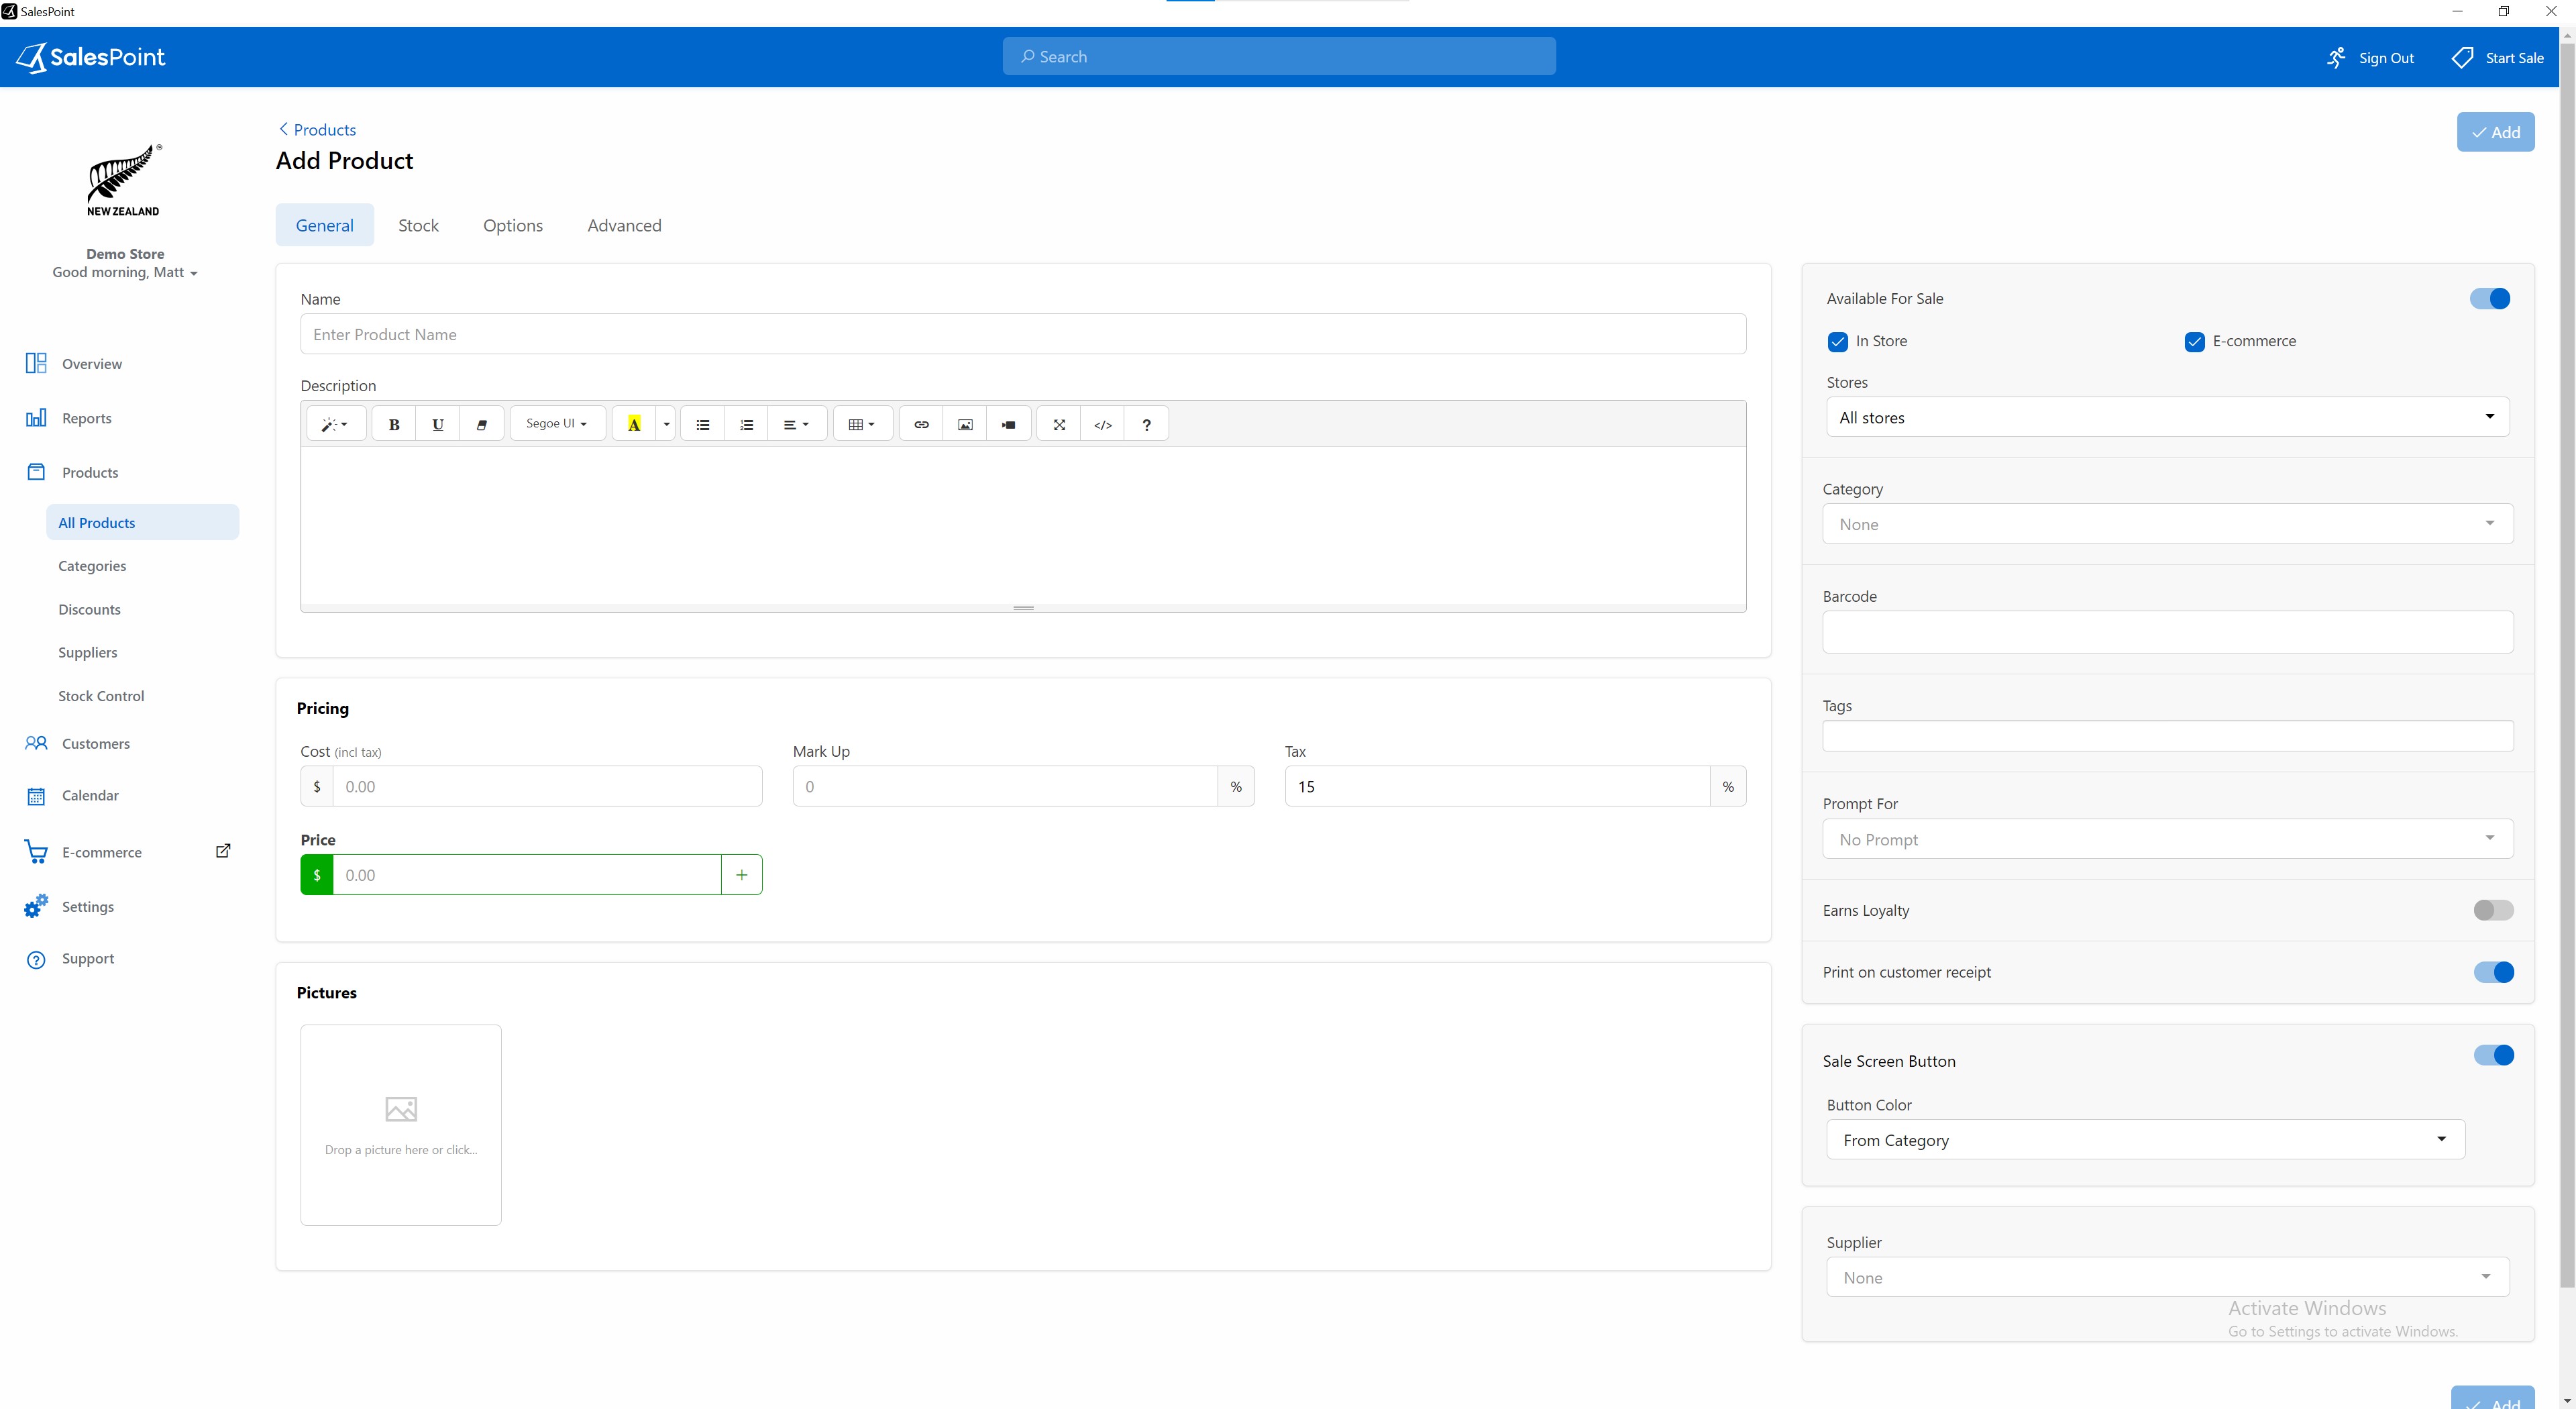
3. Provide the necessary details regarding the product.
INFORMATION
General
Name
The product's display name will be visible on the screen and printed on the receipt.
Description
A brief overview of your product.
Picture
Press the product picture to add, remove or modify the product picture.
Kitchen Ticket
Once a sale for this product is made, it will be sent to the kitchen for preparation.
Barcode
This is the barcode or PLU for the product. Put multiple codes on its line. Use the "Generate Random Barcode" if you don't have a code.
Available For Sale (Toggle)
Enabling this option makes the product available for purchase both in-store and online.
Sale Screen Button (Toggle)
If enabled, the product will show on the sales screen as a quick-action button.
Print Customer Receipt (Toggle)
If enabled, the product will print on the receipt of the customers when ordered
Category
Select the category of the product from this. If you don't have categories you must add them from the "Categories" tab under "Products" in the administration screen.
Supplier
Select the product supplier. If you don't have suppliers you must add them from the "Suppliers" Tab under the "Products" Tab in the administration screen.

Pricing
Cost
Enter the price product is purchased at.
Wholesale
Enter the price product will be wholesale at.
Tax
Enter the tax of the product.
Price
Enter the price for which the product will retail at.
Note: You can use the "Mark Up" calculator to automatically calculate the cost/price markup when entering the product. Learn more on "Using the Markup Calculator."
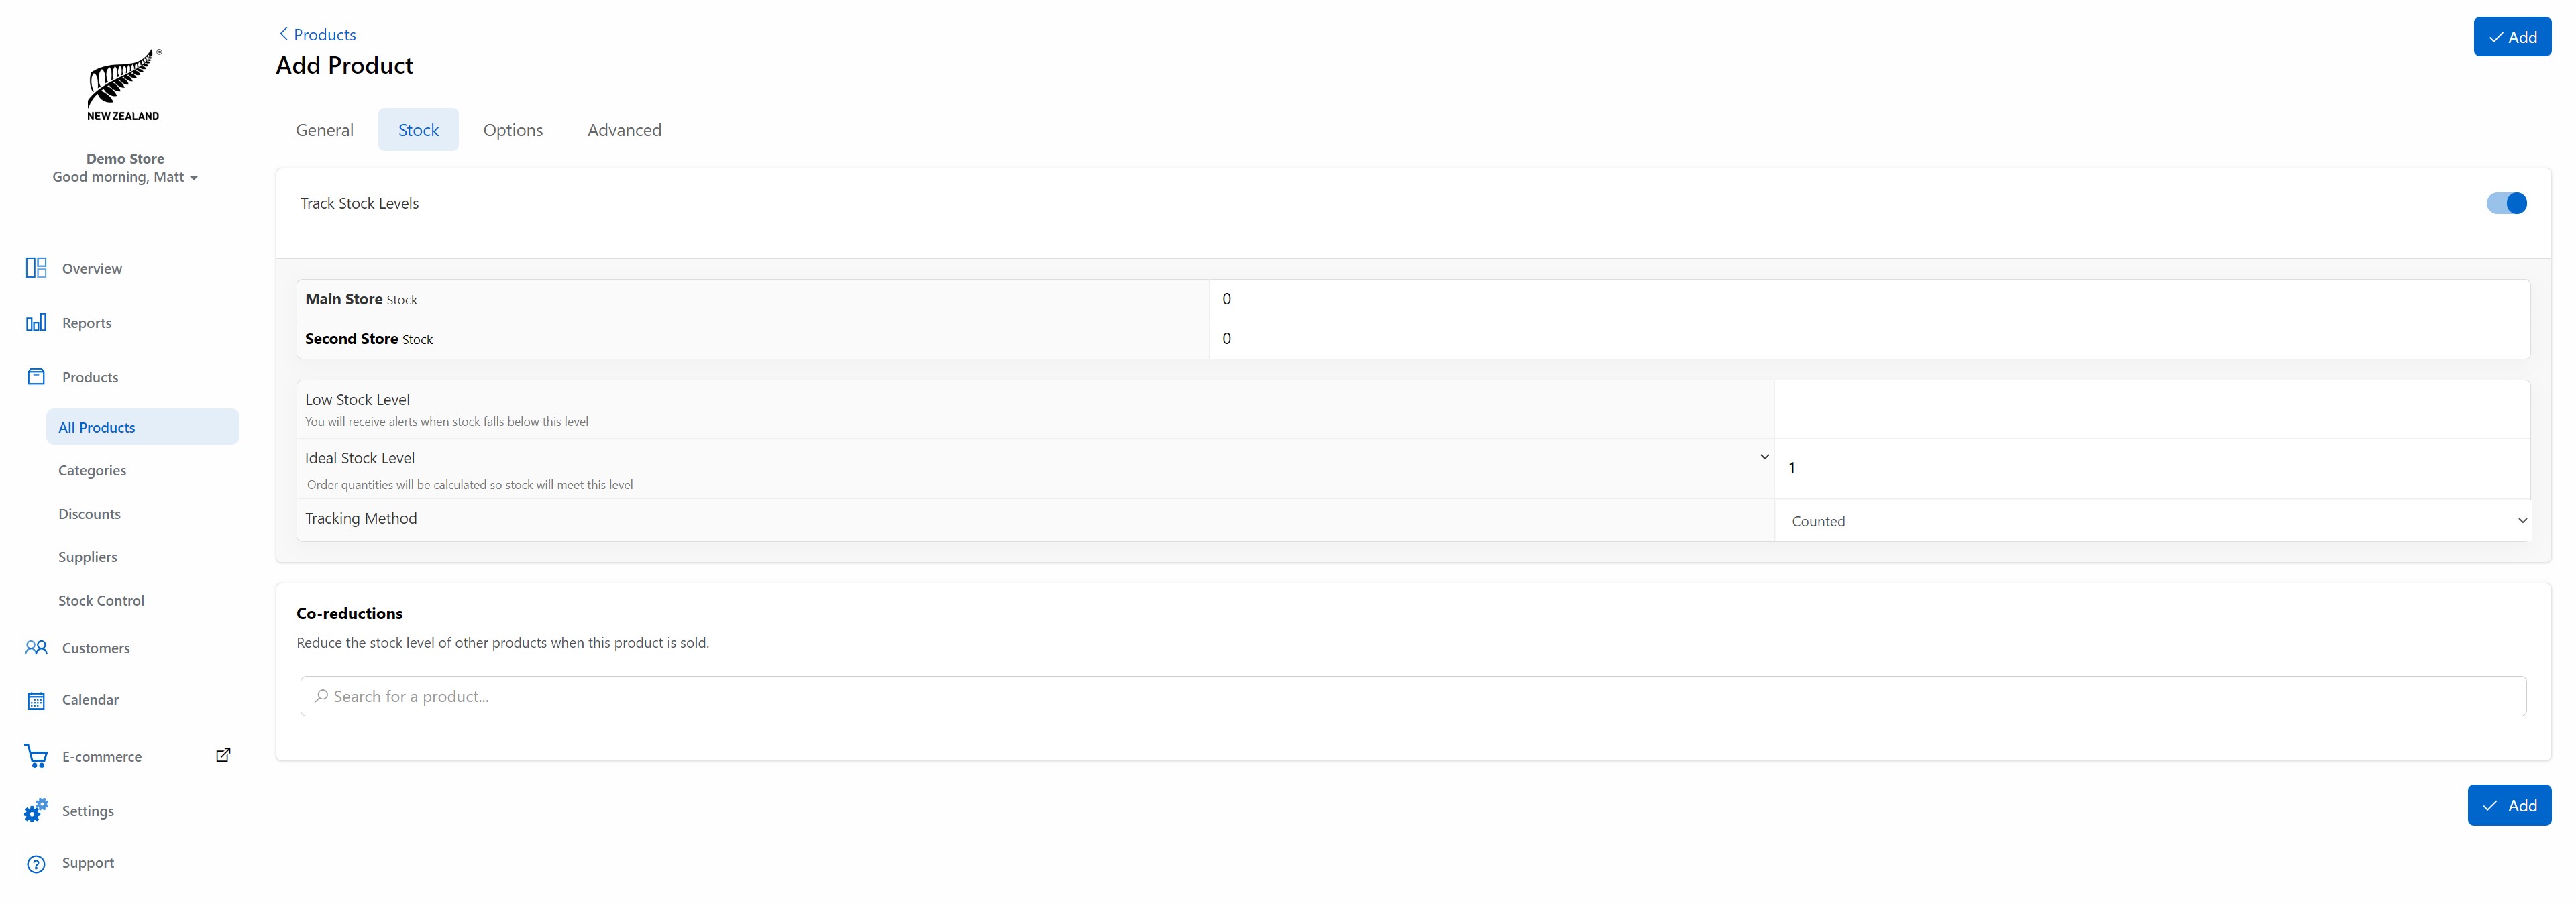
Stock Level
Track
Decides whether or not stock level is tracked, that is, when a sale is made then the stock level will decrease automatically. This must be enabled to use stock reporting.
Co-Reductions
Reducing another product's stock level when this product gets sold.
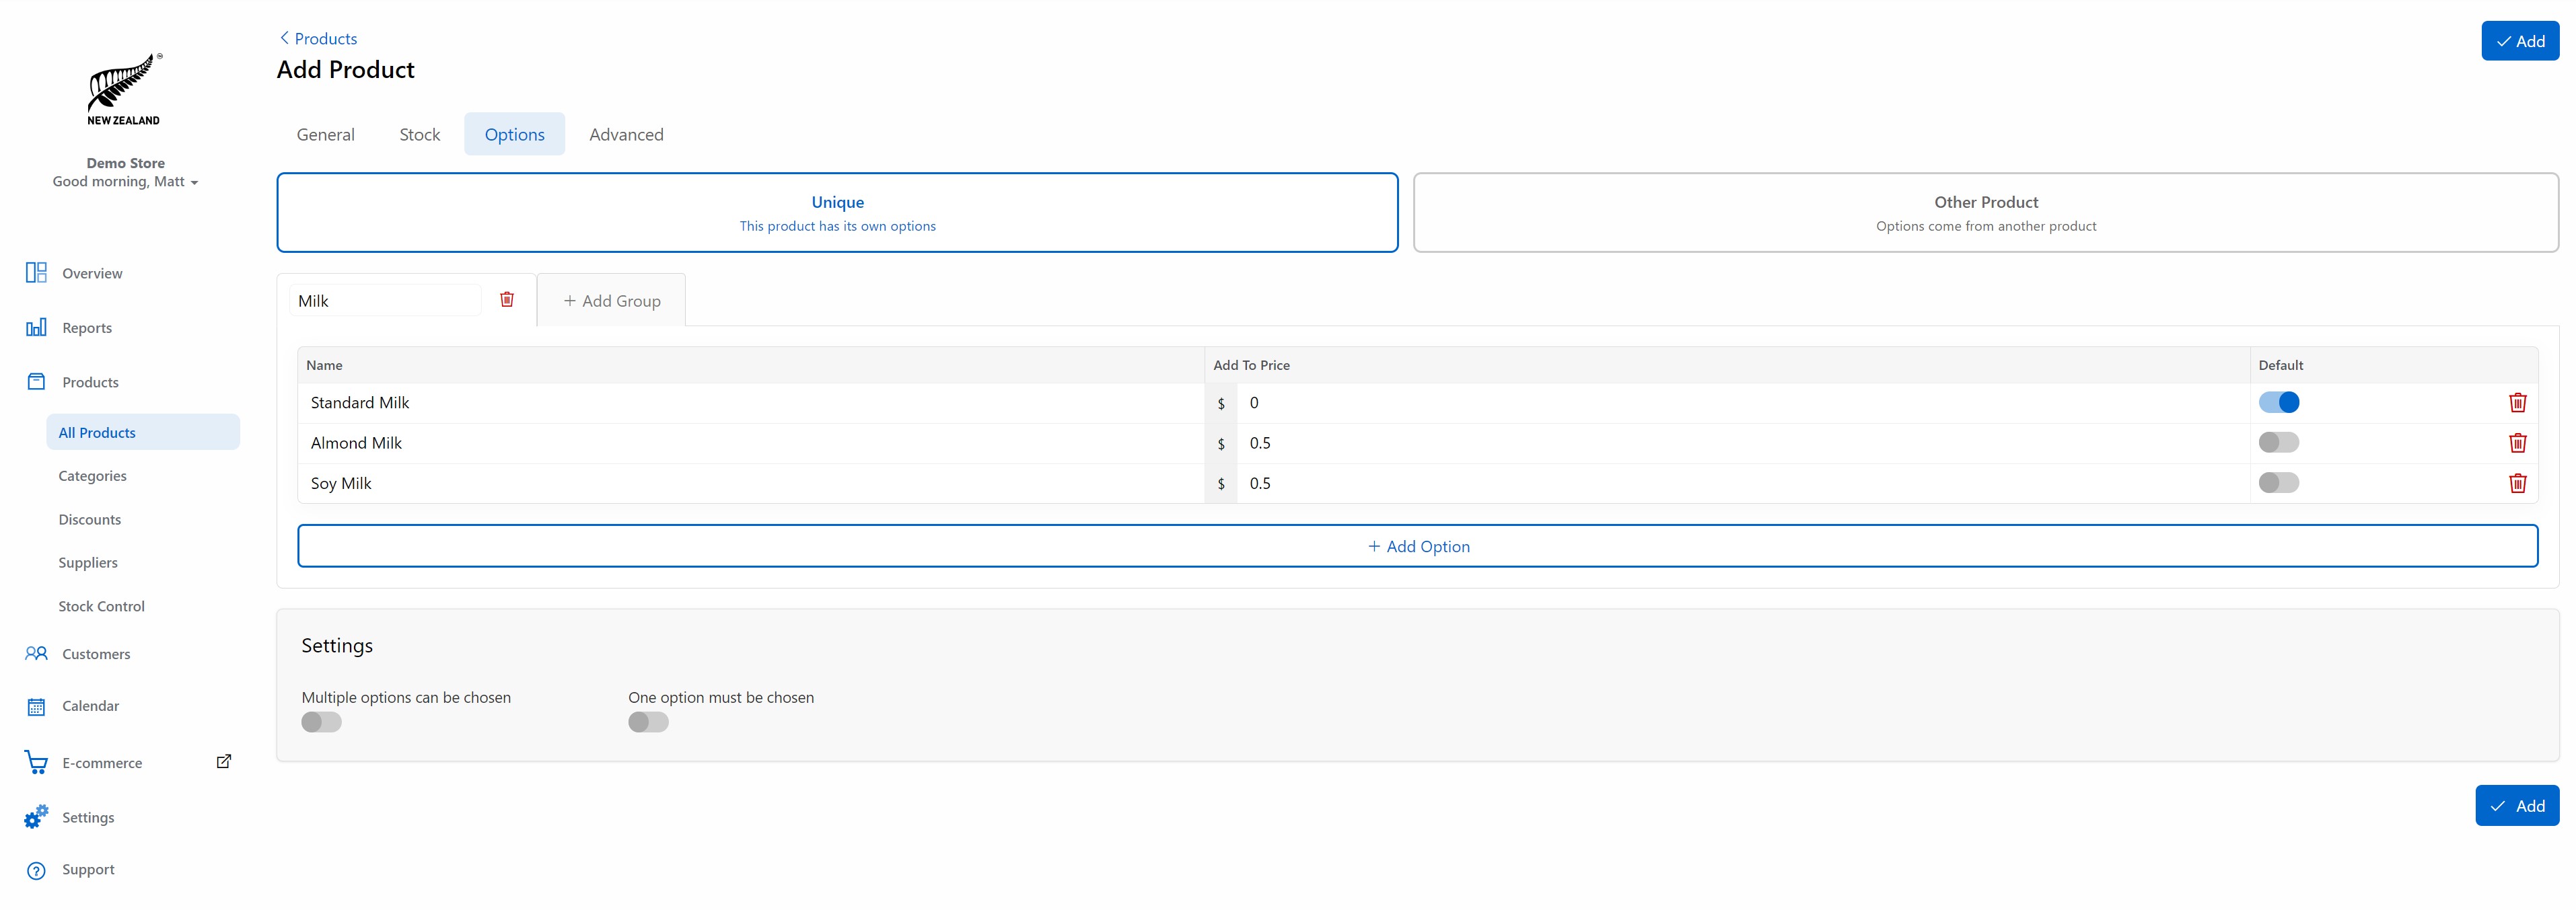
Options
Add Group
Groups allow you to have multiple options when selling a product. Put each type of product on its own line.
Multiple Options Can be Chosen
With this product type, customers have the option to choose multiple add-ons. This is particularly useful in the hospitality industry, where patrons may want to customize their orders with items such as mayonnaise, ketchup, or BBQ sauce for their burgers. When the product is selected or scanned, staff members will be prompted to choose as many options to add.
One Option Must be Chosen
This product category is designed for customers in the hospitality industry who require a specific product option. For instance, they may want to select how well-done their steak should be - rare, medium-rare, or well-done. The product will only have one option, and when it is scanned or selected, the staff member will be prompted to choose the desired option for the customer.
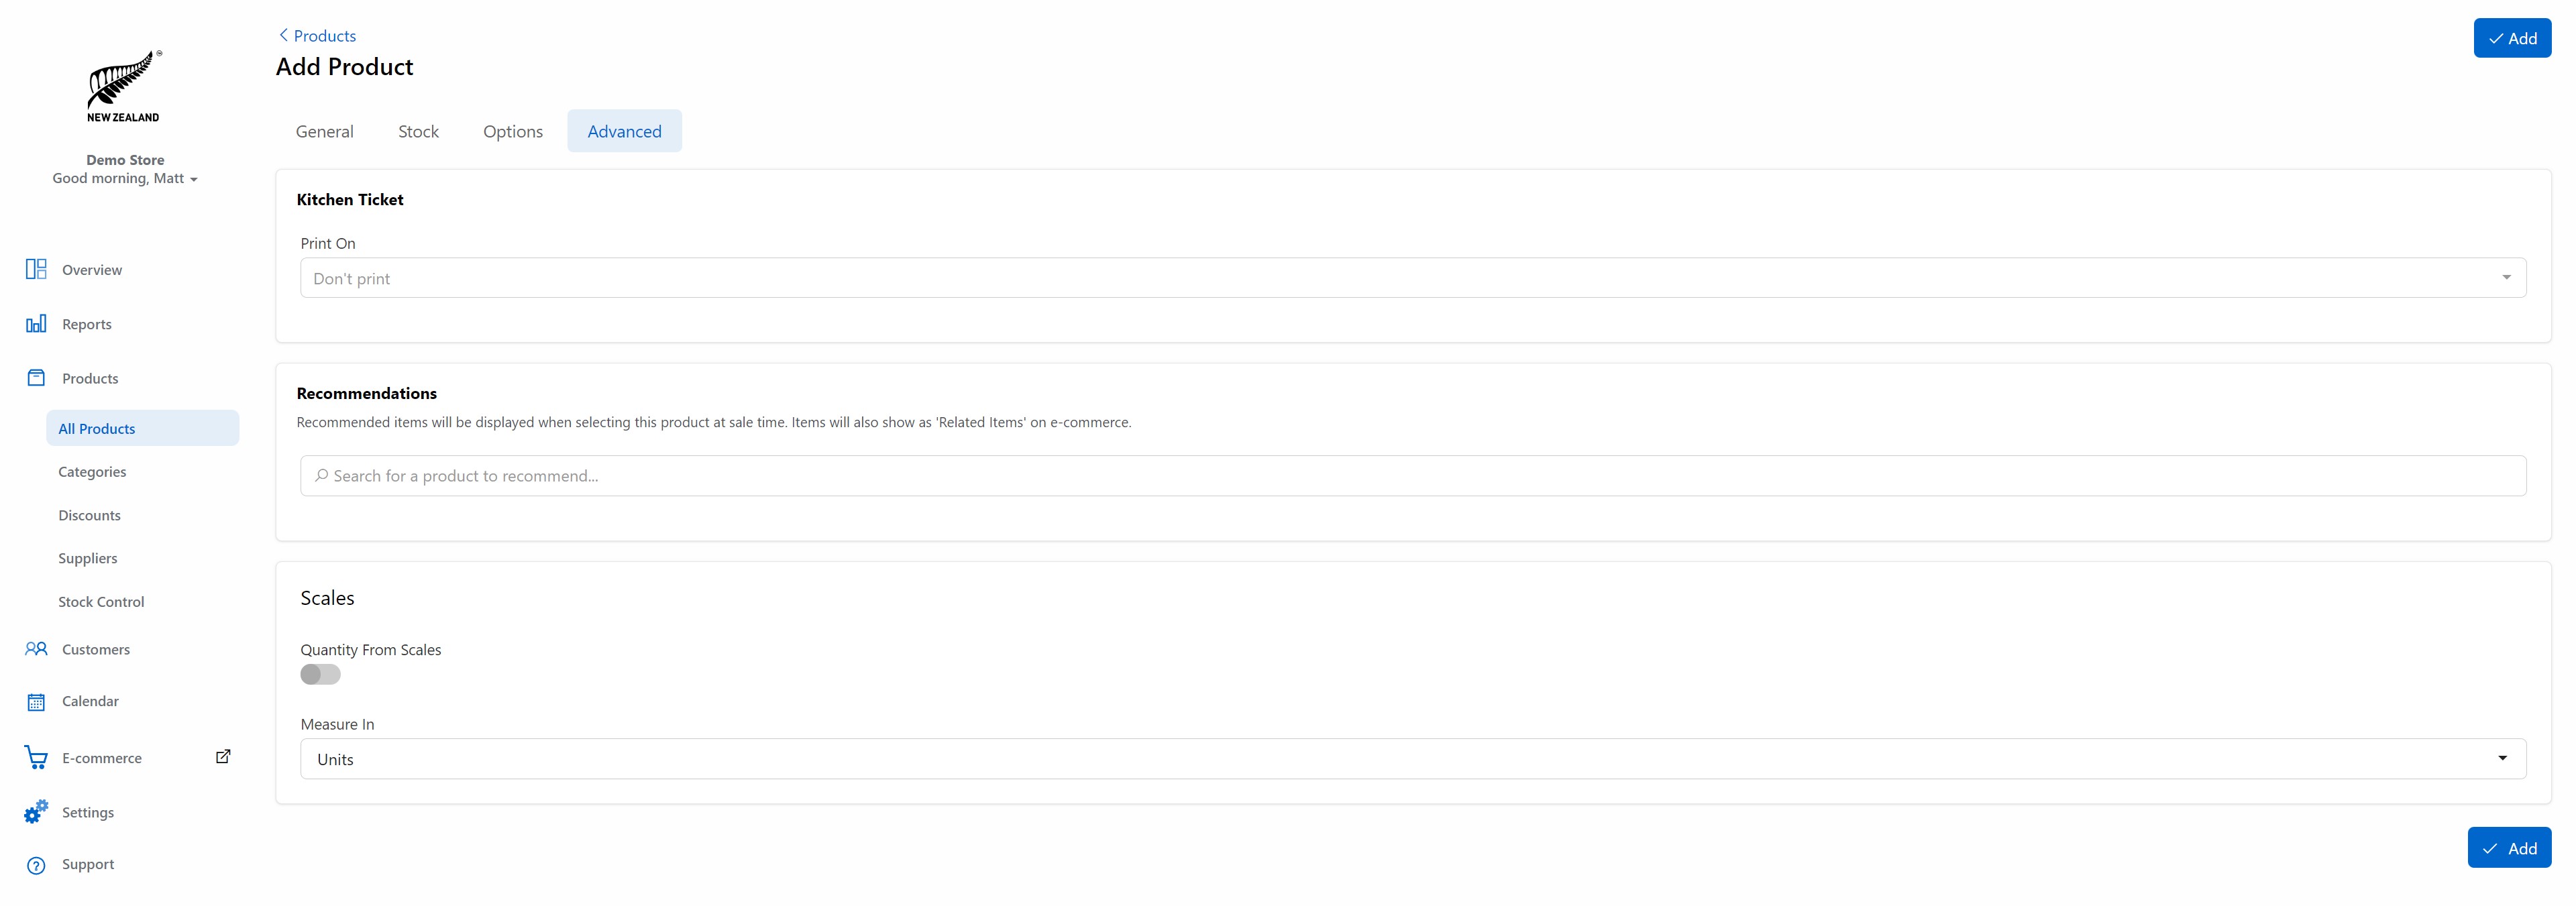
Advanced
Kitchen Ticket
When the product is sold, it will be sent to the kitchen printer if this is enabled.
Recommendations
When selecting this product, a recommended item will be displayed. eg. When a customer wants a Burger, the recommended item will be to add a Soft Drink.
Scales
When the feature is activated, the product can be measured according to its scale. This attribute is particularly beneficial for products that are sold in individual units.
Enter Quantity on Scan
If a product is scanned, the staff member will be prompted to input the quantity sold. Otherwise, the system will automatically add one unit.
Enter Price on Scan
If a product is scanned, the staff member will need to input the item's price. However, if no price is given, the retail price will be automatically applied.
Barcode Embeds Price
Used in a grocery situation where the barcode is the PLU and price.
Note: To remove a product, simply select the product you want to delete. Then, navigate to the bottom left corner of the screen and click on the "Delete Product" button.